


Concrete Patio Ideas & Installation Guide

A concrete patio is the foundation of outdoor living in Southern California. It handles our climate well, offers more design options than most homeowners realize, and costs significantly less than natural stone. Here is everything you need to know about concrete patio installation, from choosing a finish to understanding what the job actually costs.
1. Concrete Finish Options
Brushed (Broom Finish)
The standard residential finish. A broom is dragged across wet concrete creating a textured, slip-resistant surface. Clean, functional, and the most affordable option.
Cost: $6-10 per square foot installed.
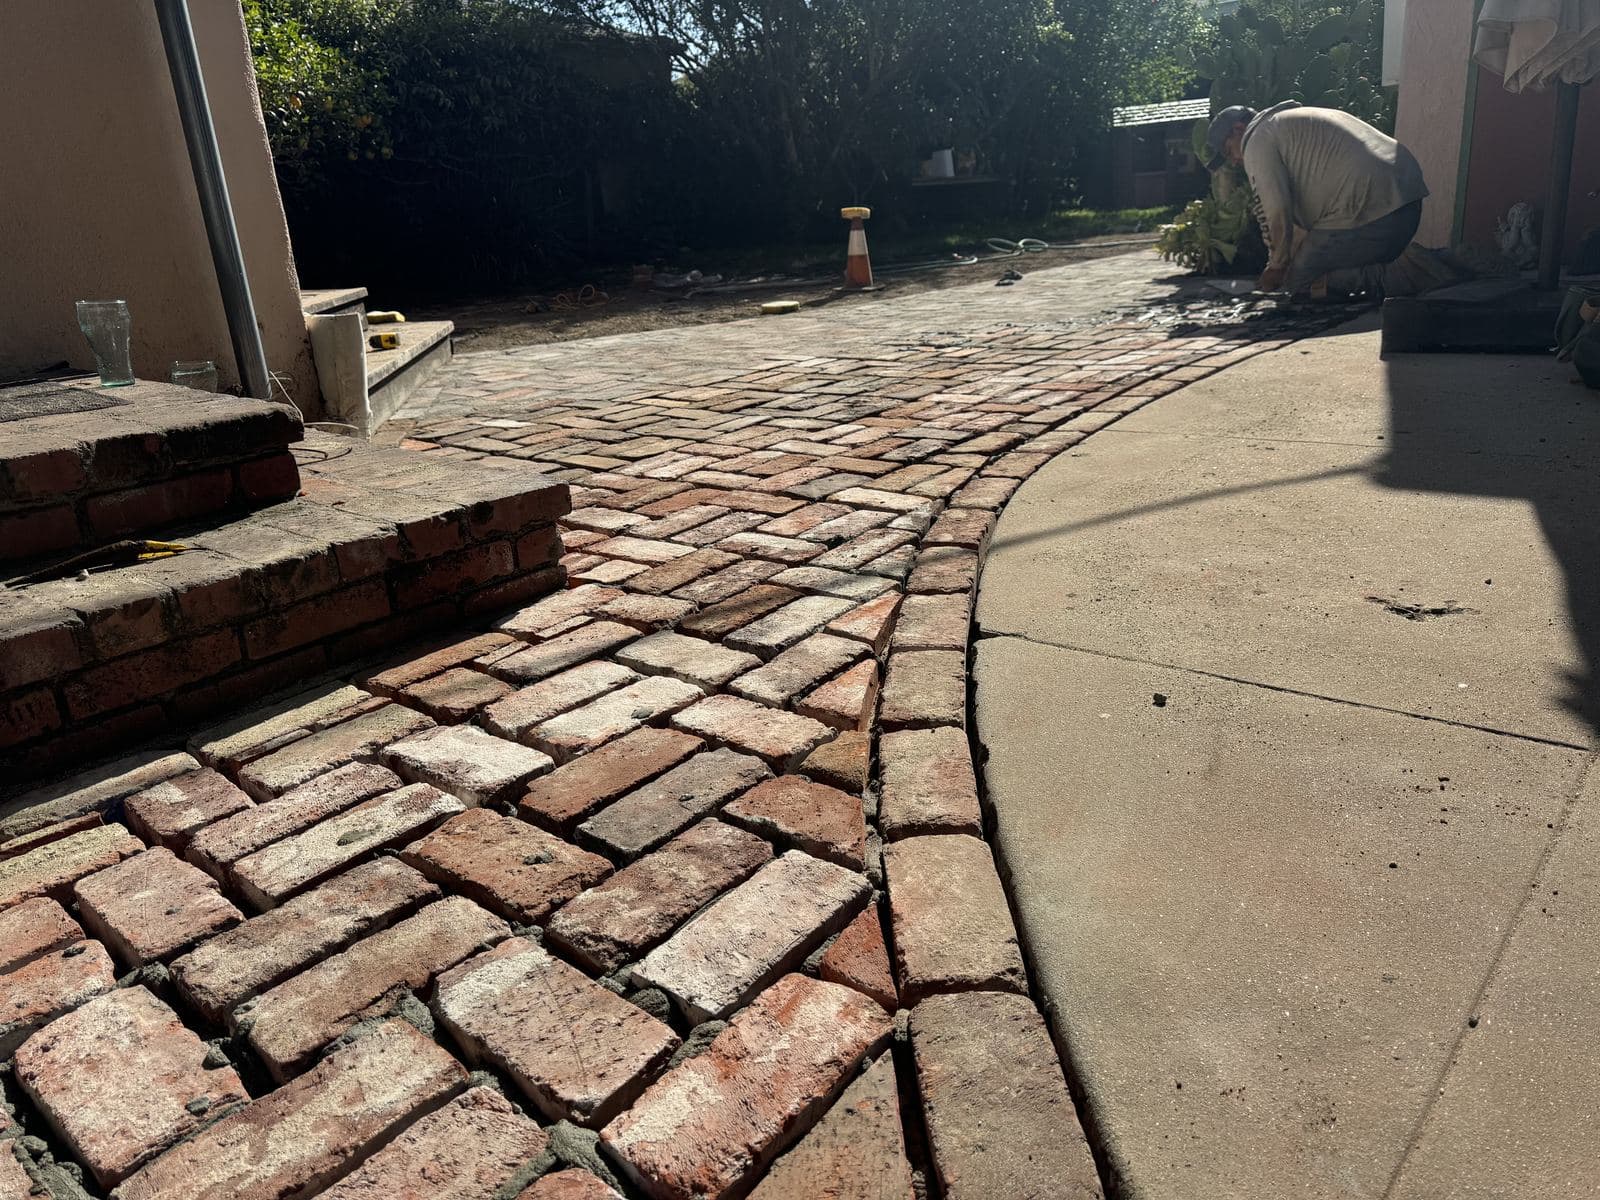
Stamped Concrete
Patterns are pressed into wet concrete to mimic stone, brick, tile, or slate. Combined with integral color or stain, stamped concrete creates a high-end look at a fraction of real stone cost. Popular patterns for SoCal: Ashlar Slate, Random Stone, Herringbone Brick.
Cost: $12-20 per square foot installed.
Stained Concrete
Acid stains or water-based stains penetrate the surface creating rich, translucent color. Can be applied to new or existing concrete. Creates unique marbled effects that look different on every pour.
Cost: $2-4 per square foot for stain application on existing concrete. $10-16 per square foot for new concrete with integral color plus stain.
Exposed Aggregate
The top layer of cement paste is washed away to reveal decorative stones embedded in the mix. Creates a natural, textured surface with excellent slip resistance. Very popular for pool decks.
Cost: $10-18 per square foot installed.
Polished/Smooth Trowel
A smooth, sleek surface achieved by extensive troweling. Modern and clean but can be slippery when wet. Best for covered patios.
Cost: $8-14 per square foot installed.
Buildda Tip
In Southern California, lighter-colored concrete stays cooler underfoot. Dark stains and stamps absorb heat and can become uncomfortable on south-facing patios during summer. If your patio gets afternoon sun, choose light gray, sand, or warm beige tones.
2. Installation Process
Step 1: Layout and Excavation
The patio area is staked and string-lined to establish grade and drainage slope (minimum 1/8 inch per foot away from the house). Soil is excavated 6-8 inches deep. Soft or unstable soil may need additional excavation and engineered fill.
Step 2: Base Preparation
4 inches of compacted gravel base provides stability and drainage. This is the most critical step. Skipping or skimping on base preparation leads to cracking within 1-3 years as the soil settles.
Step 3: Forms and Reinforcement
Wood forms establish the edges and shape. Wire mesh or rebar reinforcement is placed on chairs to sit in the middle of the concrete slab. Control joints are planned every 8-10 feet to manage where cracking occurs.
Step 4: Concrete Pour
Concrete is delivered by truck and placed in the forms. Timing is critical. Workers have 1-3 hours to place, screed (level), float (smooth), and finish the concrete before it sets. Larger patios may need multiple trucks or a concrete pump.
Step 5: Finishing
The chosen finish is applied: brooming, stamping, aggregate exposure, or troweling. Timing is everything. Too early and the surface is mushy. Too late and the concrete is too hard to work.
Step 6: Curing
Concrete needs 7 days to reach initial strength and 28 days for full cure. During this time, keep the surface moist (cover with plastic or spray with curing compound). No foot traffic for 24-48 hours. No heavy loads for 7 days.
3. Costs for a Concrete Patio
|-------------|----------|----------------|----------------|
Additional costs to budget for:
Demolition of existing patio: $2-5 per square foot.
Grade changes or drainage work: $500-2,000.
Permit fees: $200-500 (if required).
Sealer application: $1-3 per square foot.
4. Maintenance
Annual: Apply concrete sealer every 2-3 years for stamped or stained finishes. Power wash to remove dirt and algae. Reapply sealant after washing.
As Needed: Fill control joint cracks with flexible caulk. Touch up stain or color in high-wear areas. Address drainage issues immediately to prevent undermining.
Lifespan: A properly installed and maintained concrete patio lasts 25-50 years in Southern California. Our mild freeze-thaw cycles (compared to northern states) are much easier on concrete.
5. Concrete vs Pavers
Many homeowners debate between concrete and pavers. Here is an honest comparison.
Concrete Advantages: Lower cost per square foot. Seamless surface (no weeds between joints). Faster installation. More uniform appearance.
Paver Advantages: Individual units can be replaced if damaged. More design flexibility with patterns and borders. Better for areas with tree roots (can be lifted and reset). Higher perceived value at resale.
Cost Comparison: Brushed concrete is 40-60% cheaper than pavers. Stamped concrete is comparable to mid-range pavers. Both last 25+ years with proper maintenance.
6. Permits
New patios over 200 square feet: Permit typically required in LADBS and most LA County cities.
Replacing existing patio (same footprint): Usually no permit needed.
Patio with attached cover or structure above: Separate building permit required.
Culver City: Building Safety Division processes patio permits in 2-3 weeks.
Santa Monica: 3-4 weeks, longer if in Coastal Zone.
LADBS: 2-4 weeks for standard residential.
7. Frequently Asked Questions
How long does concrete patio installation take?
Small patio (under 200 sqft): 1-2 days. Medium patio (200-400 sqft): 2-3 days. Large or complex (400+ sqft with stamping): 3-5 days. Add 1-2 days for demolition of existing patio.
Can I pour concrete in winter in Southern California?
Yes. Our mild winters rarely dip below 40 degrees overnight, which is the minimum for proper curing. Avoid pouring if rain is forecast within 24 hours. Winter is actually ideal since slower curing in cooler temps produces stronger concrete.
How thick should a patio be?
Standard residential patio: 4 inches. Patio supporting hot tub or heavy planters: 6 inches. Driveway-adjacent patio with vehicle potential: 6 inches with additional reinforcement.
What causes concrete patios to crack?
Insufficient base preparation (most common). No control joints or improper spacing. Too much water in the concrete mix. Rapid drying in hot weather. Tree root pressure underneath.
Local Tip: Concrete Patios in Culver City
Culver City's clay-heavy soil requires proper compaction and base preparation before pouring. Skipping this step leads to cracking within 1-2 years as the soil shifts. New patios over 200 square feet need a building permit through the Building Safety Division. Most residential patio permits process in 2-3 weeks.
Local Tip: Coastal Concrete Considerations
In Santa Monica and Venice, the higher moisture content in coastal air can affect concrete curing times. Pour in the morning when temperatures are moderate and fog has lifted. Salt air does not damage cured concrete but can corrode exposed rebar or wire mesh if the concrete coverage is too thin.
Get Concrete Patio in Your Area
Professional contractors serving the Greater Los Angeles area
Popular service areas:
Also explore related services:


