

Exterior Door Installation: A Real Culver City Rear Door
On this page
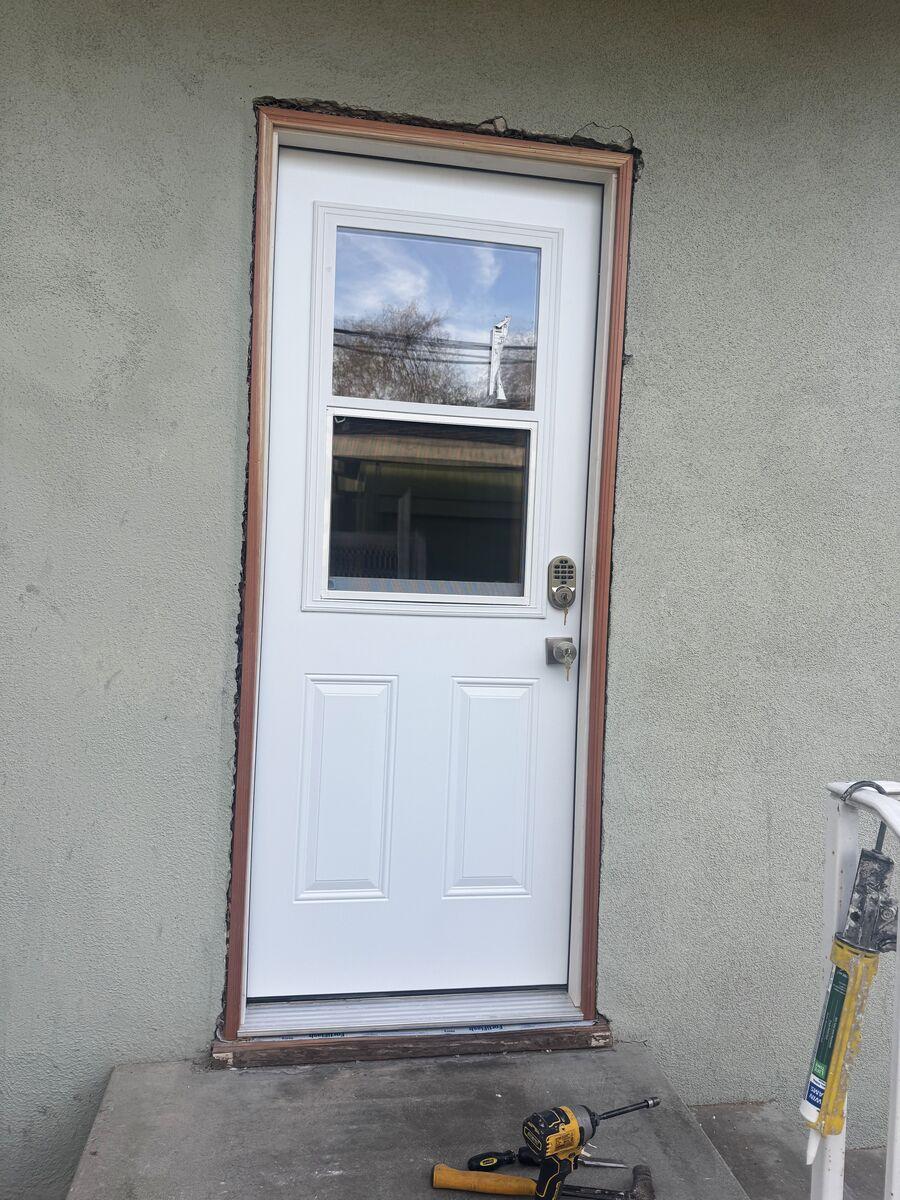
An old exterior door rarely fails all at once. It sticks, the threshold leaks, the bottom of the frame goes soft, and one day the lock stops lining up. This Culver City rear door had all of that, behind an old metal security gate. Here is how we replaced it, step by step: the photos are from this job, and the steps follow the door maker's own instructions, linked below. The whole Culver City rear door job, in big photos, is on its own page.
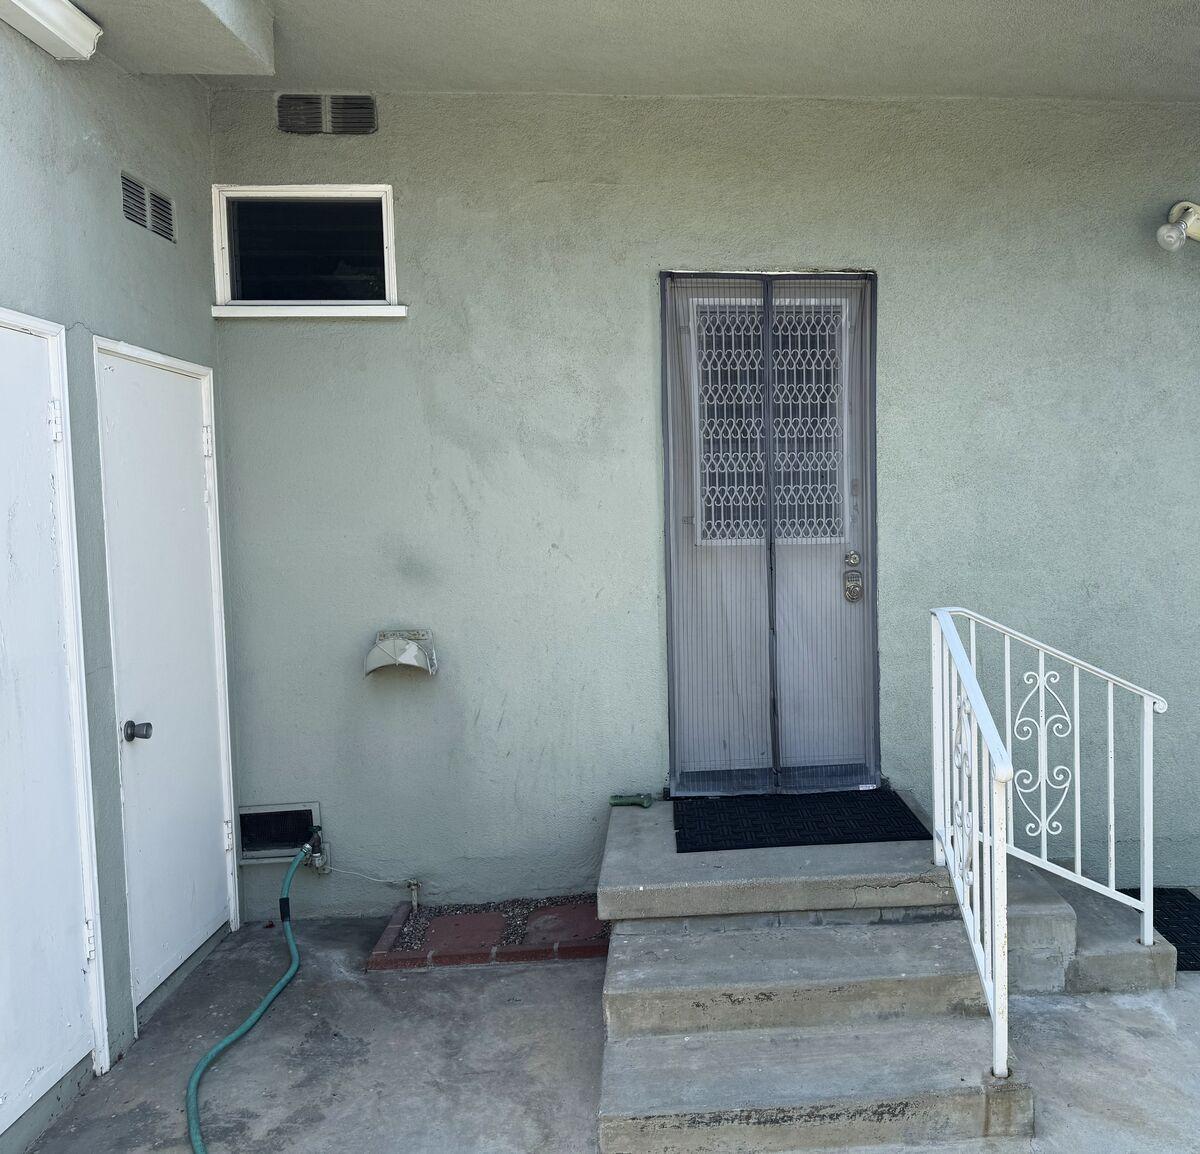
1. What We Found
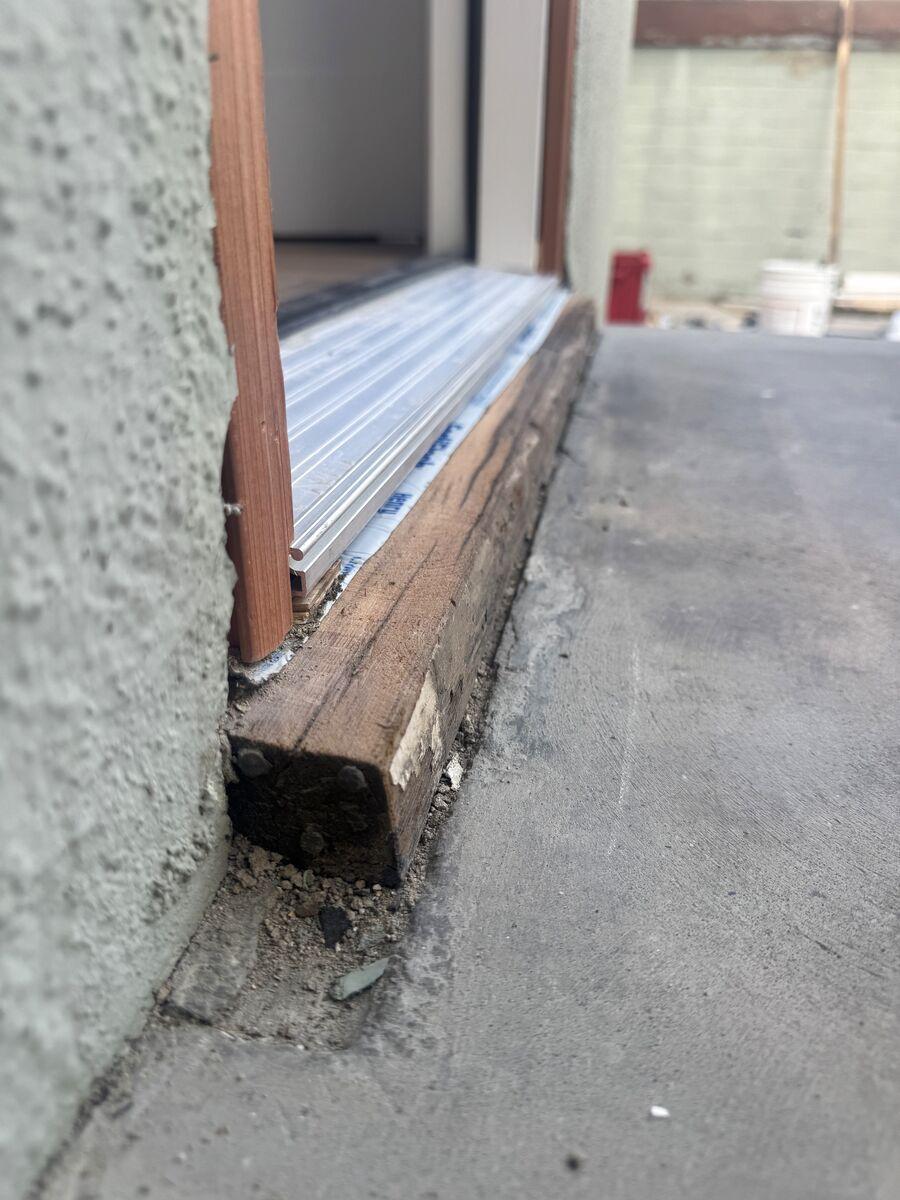
The old door and its security gate came out first. Under the old threshold, the wood sill was rotted. Water had been getting under the door for a long time, and the wood that holds the bottom of the frame had gone soft and dark.
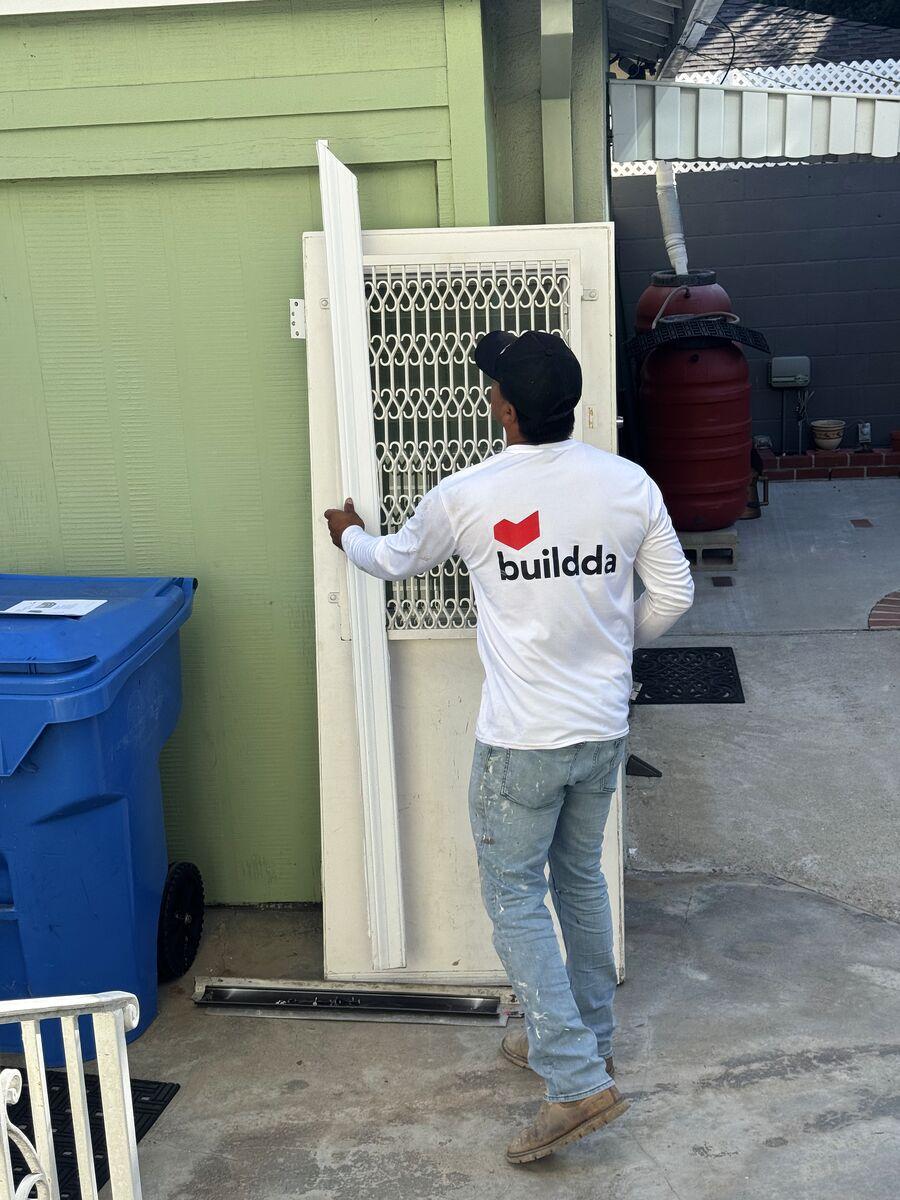
With the gate off, the door itself came out next. That is when the bottom of the frame showed what water had been doing to it.
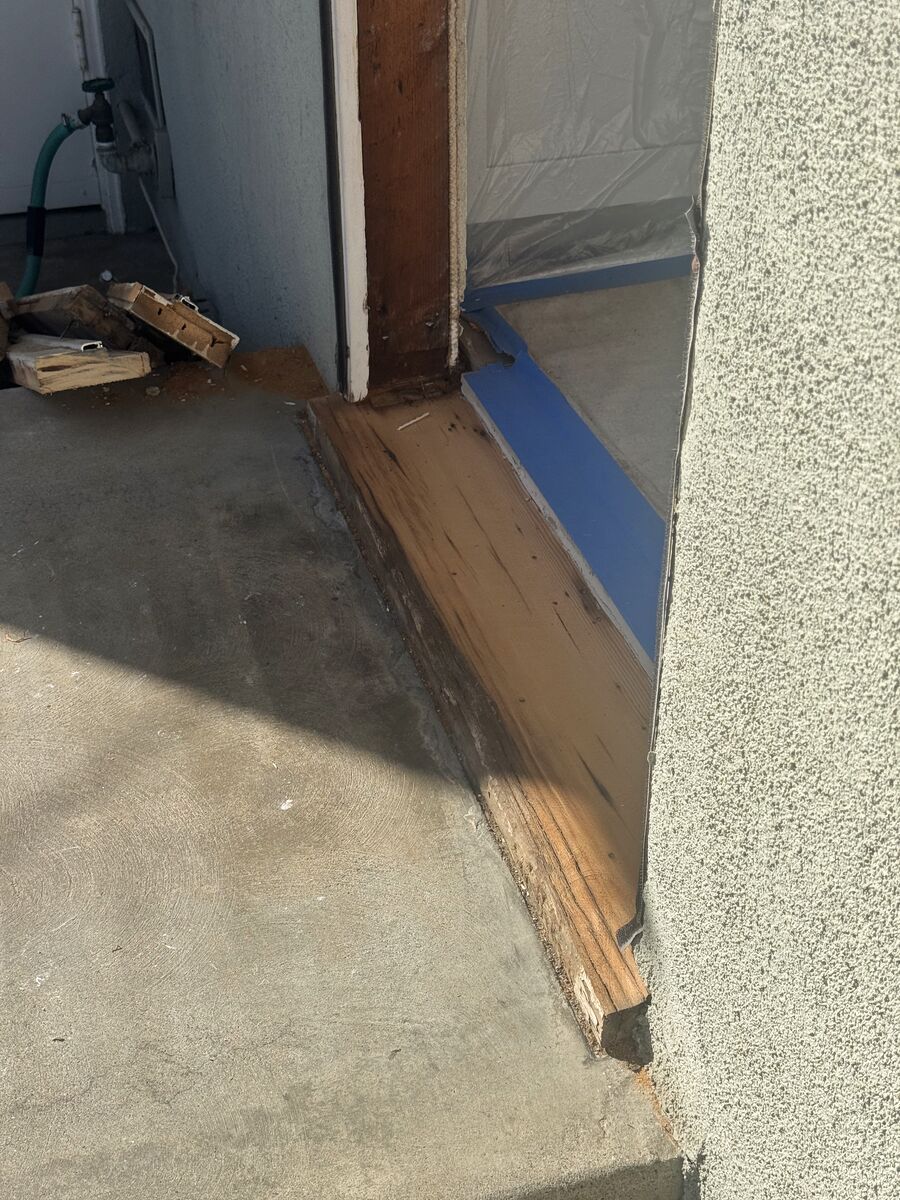
Rot like this is why a door that looks fine from the outside can still leak, stick or let air in. The sill is the first thing water reaches, and once it softens, the frame above it starts to move.
2. Signs Your Exterior Door Needs Replacing
One of these alone can often be repaired. Two or more, especially soft wood at the sill, usually means the door and its frame should be replaced together.
3. Prehung Door or Slab Door?
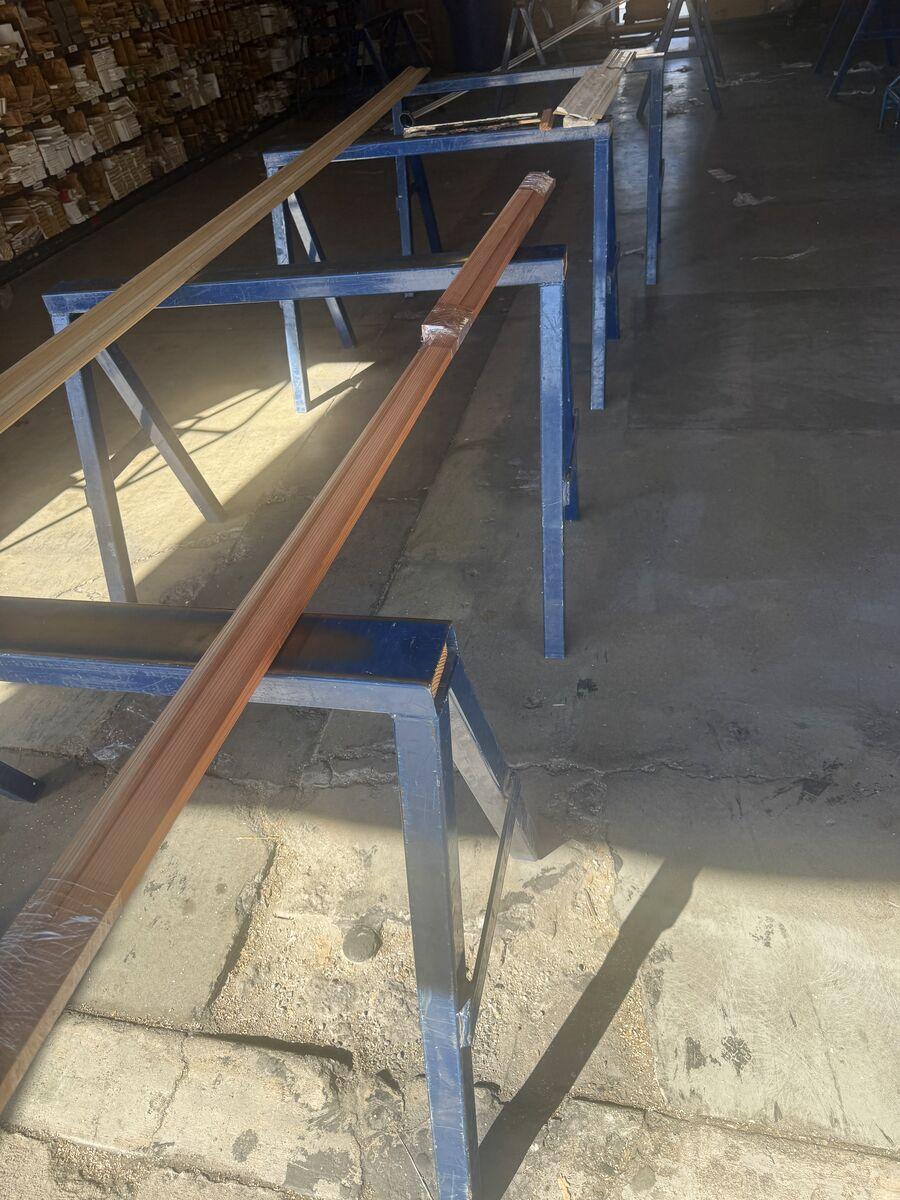
A slab is just the door. A prehung door comes already hung on hinges inside its own frame, with the sill attached. When the old frame is sound, a slab can be fitted into it. When the frame or the sill is rotted, as it was here, a prehung unit is the cleaner fix: everything that seals the opening is new, and the door is already square in its frame.
4. The Products
5. The Install, Step by Step
The steps below are the ones the door maker lists. The photos are from this job.
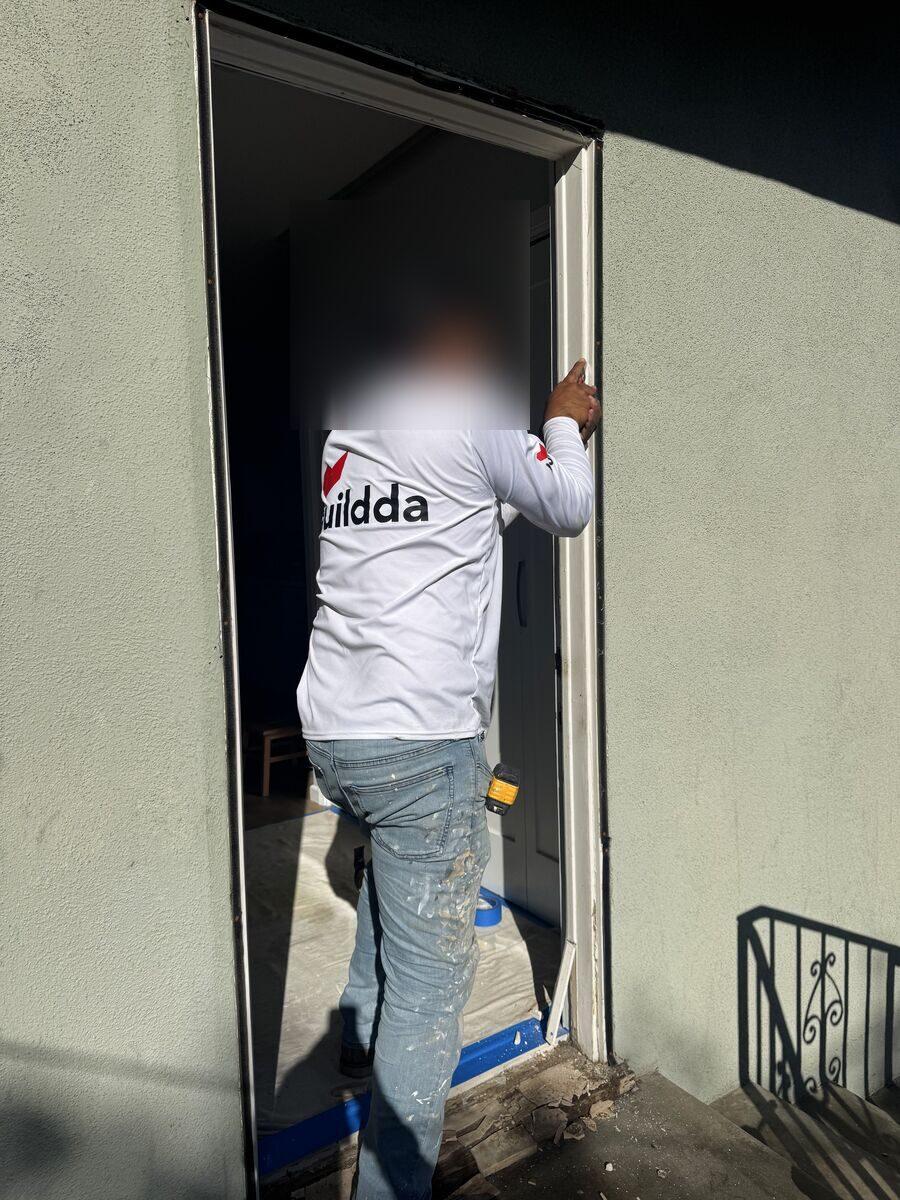
Step 1: Take out the old door. We removed the security gate, then the old door and its frame, and protected the floor inside with a drop cloth.
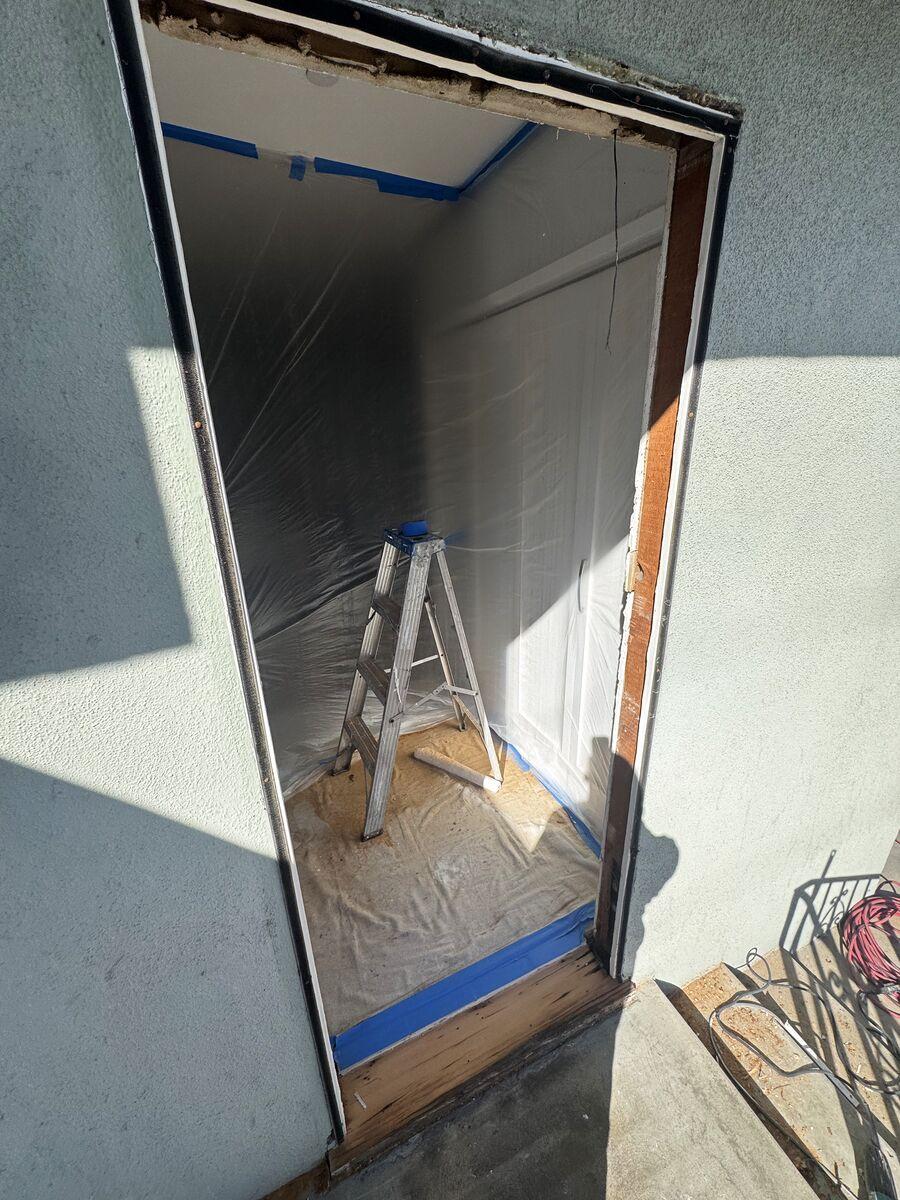
Step 2: Prepare the opening. Masonite asks for a clean, level, solid base under the door, and a rough opening about 3/4 inch wider and 1/2 inch taller than the door frame. We cut out the rotted wood, cleaned the opening, and made the base flat and level. If the old paint in an older home may hold lead, the EPA lead page explains safe work practices.
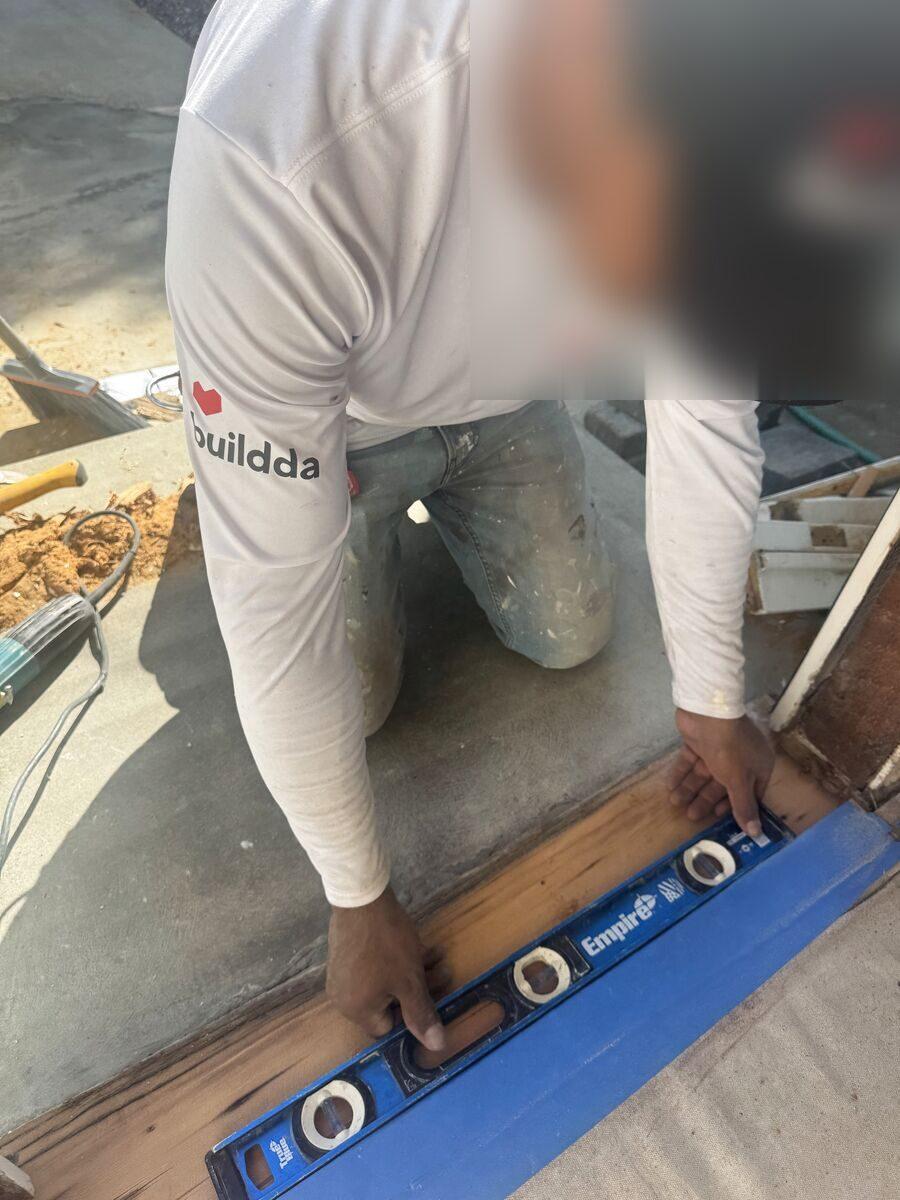
6. Setting and Sealing the New Door
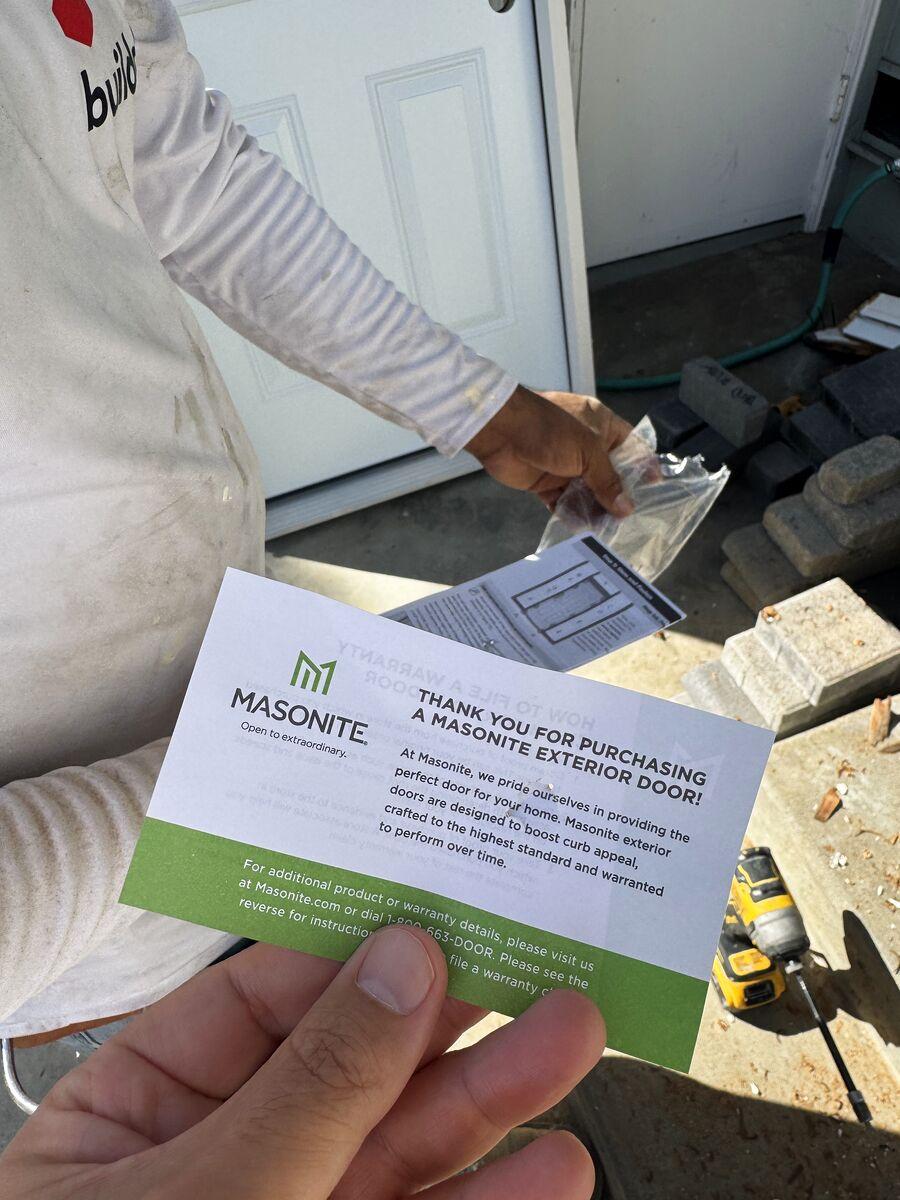
Step 3: Seal under the sill. The Masonite sheet calls for three beads of caulk across the floor under the sill, before the door goes in, so water cannot get under it again.
Step 4: Set the door. The sill goes into the opening first, then the door tips up into place. We kept it square and plumb, with an even gap around the door slab.
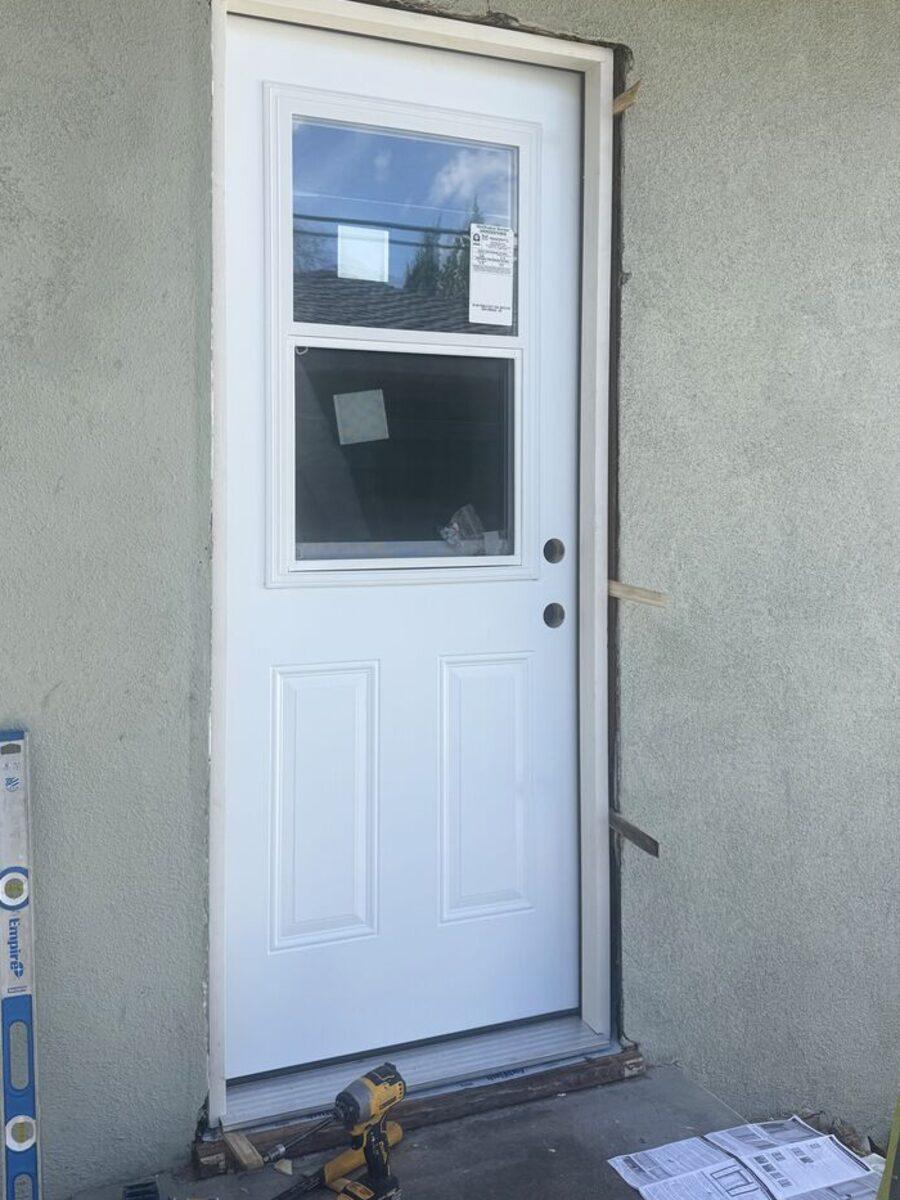
Step 5: Shim and fasten. Shims go behind the jambs at the hinges and the lock. Masonite asks for an even 1/8 inch gap around the door, and long screws through the hinge side into the framing. Its sheet warns not to swing the door wide until those screws are in.
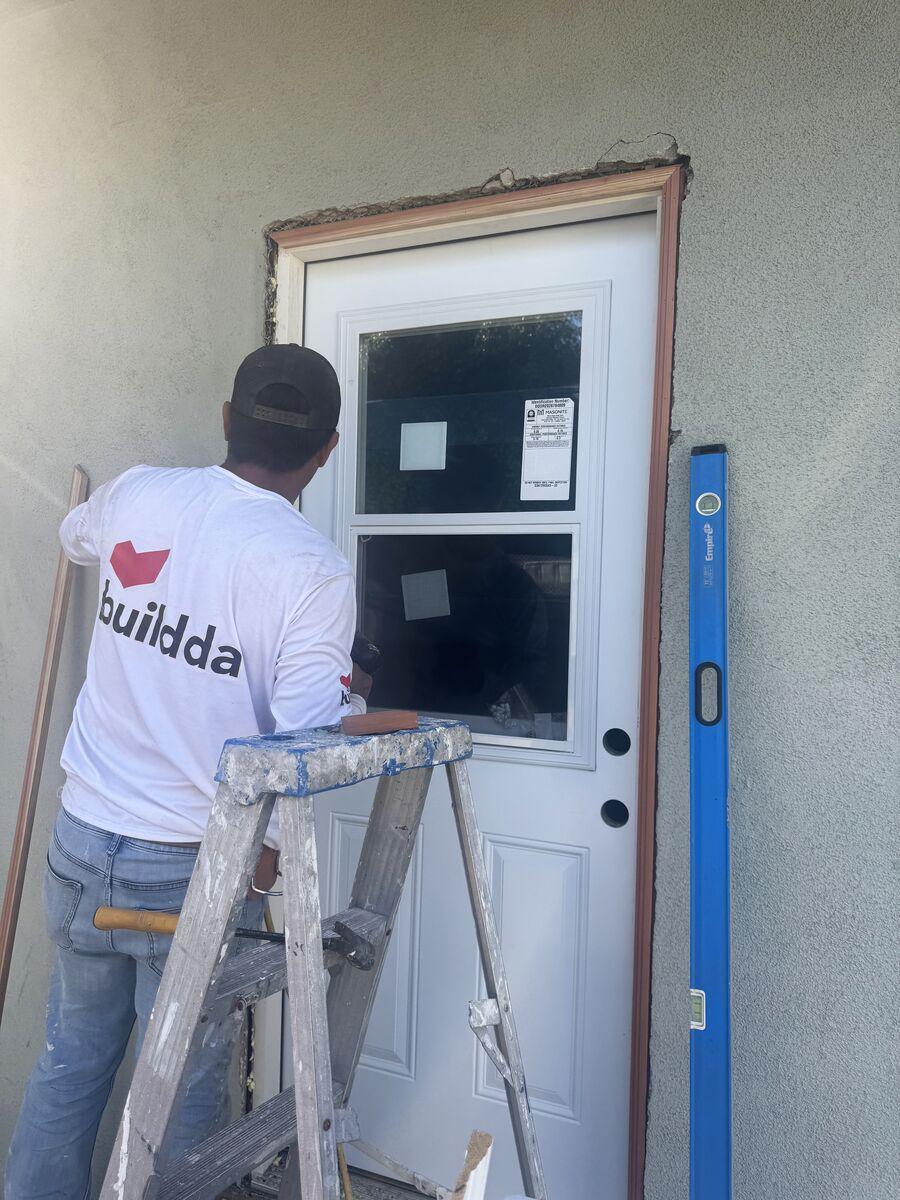
7. Finishing the Install
Step 6: Insulate and caulk. The gap around the frame gets insulation. Masonite warns against expanding foam, which can bend the jambs, and asks for low pressure foam or fiberglass instead. Then the outside gets caulked: the corners, the sill and the trim.
Step 7: Trim and hardware. The new casing goes on outside, and the deadbolt and knob go in. The keypad deadbolt runs on four AA batteries and needs no wiring.
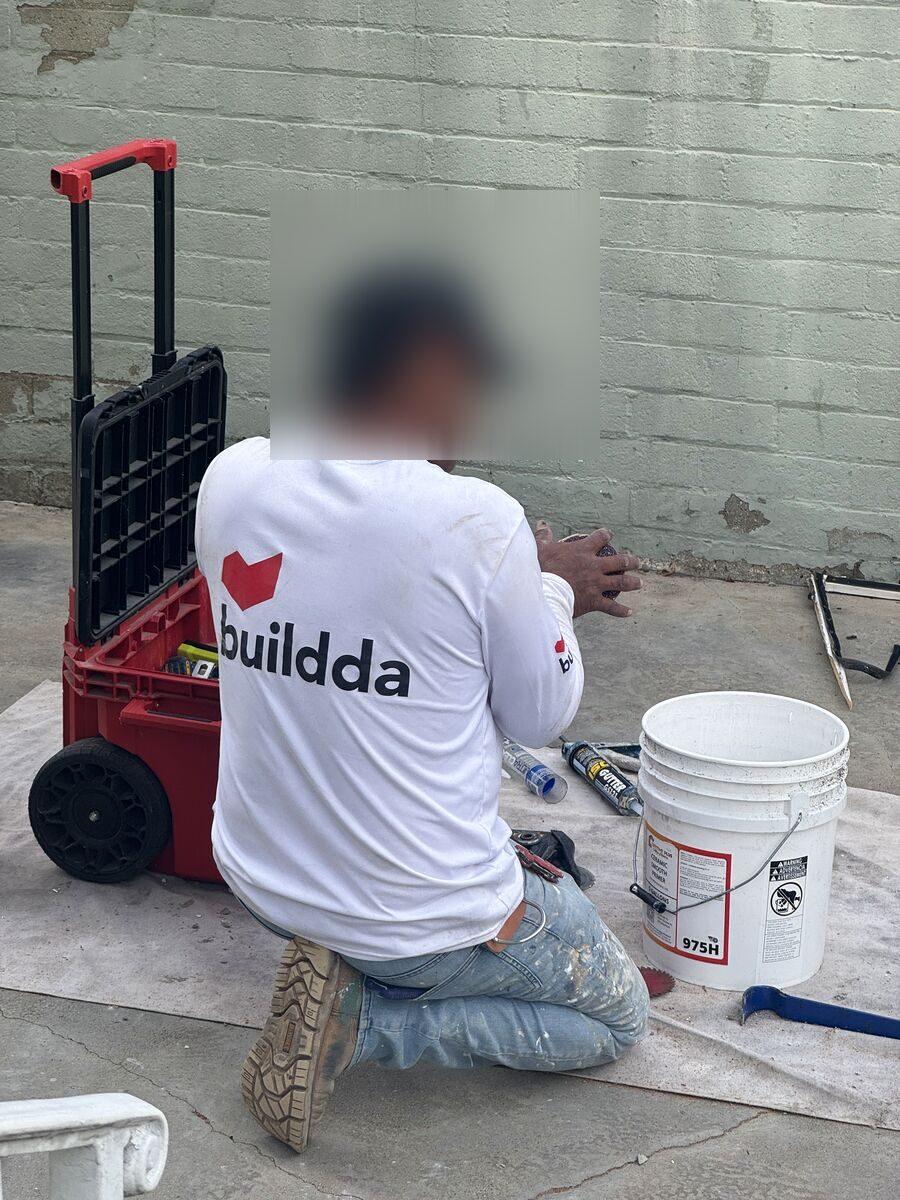
Step 8: Test the seal. Masonite's paper test: close the door on a sheet of paper over the threshold and pull it. It should slide out with a little tension. Too tight or too loose, and the threshold gets adjusted.
The whole job in under 30 seconds, from the rotted old sill to the new lock:
8. After the Install
The door comes primed, not painted. Masonite asks that the door, frame and trim be painted within 45 days of installation to protect the finish. Paint also covers the new wood trim, which should not be left bare in the sun and rain. Once a year, check the caulk at the corners and the sill, and look for gaps where the trim meets the wall.
9. Questions We Hear
How long does an exterior door replacement take?
It depends on what the old door is hiding. Here the old door came out, the rotted sill was cut out and fixed, the new door went in, and the lock was installed. A door whose frame and sill are sound goes faster, because only the slab is replaced.
Can you replace just the door, not the frame?
Sometimes. When the frame or the sill is rotted, as it was here, a prehung door with its own new frame is the cleaner fix.
Do I need a permit to replace an exterior door?
It depends on the city and on whether the opening changes size. Tell us about your door, and we check your city's rules for your job.
Does a new door make the house more efficient?
A well sealed door with weatherstripping and a tight threshold lets in less air and water than a worn one with gaps. The paper test in Step 8 is a quick way to check the seal.
What is a half-lite door?
A door with glass in the top half. This one is a vent lite: part of the glass opens for fresh air.
Next Step
Is your exterior door sticking, leaking or soft at the bottom? Text us what you see, and a photo if you have one. Buildda is a licensed general contractor, CSLB B #1131088.
Curb appeal work in your area
Professional contractors serving the Greater Los Angeles area
Popular service areas:
Related articles
Exterior Painting Guide: Costs & Process
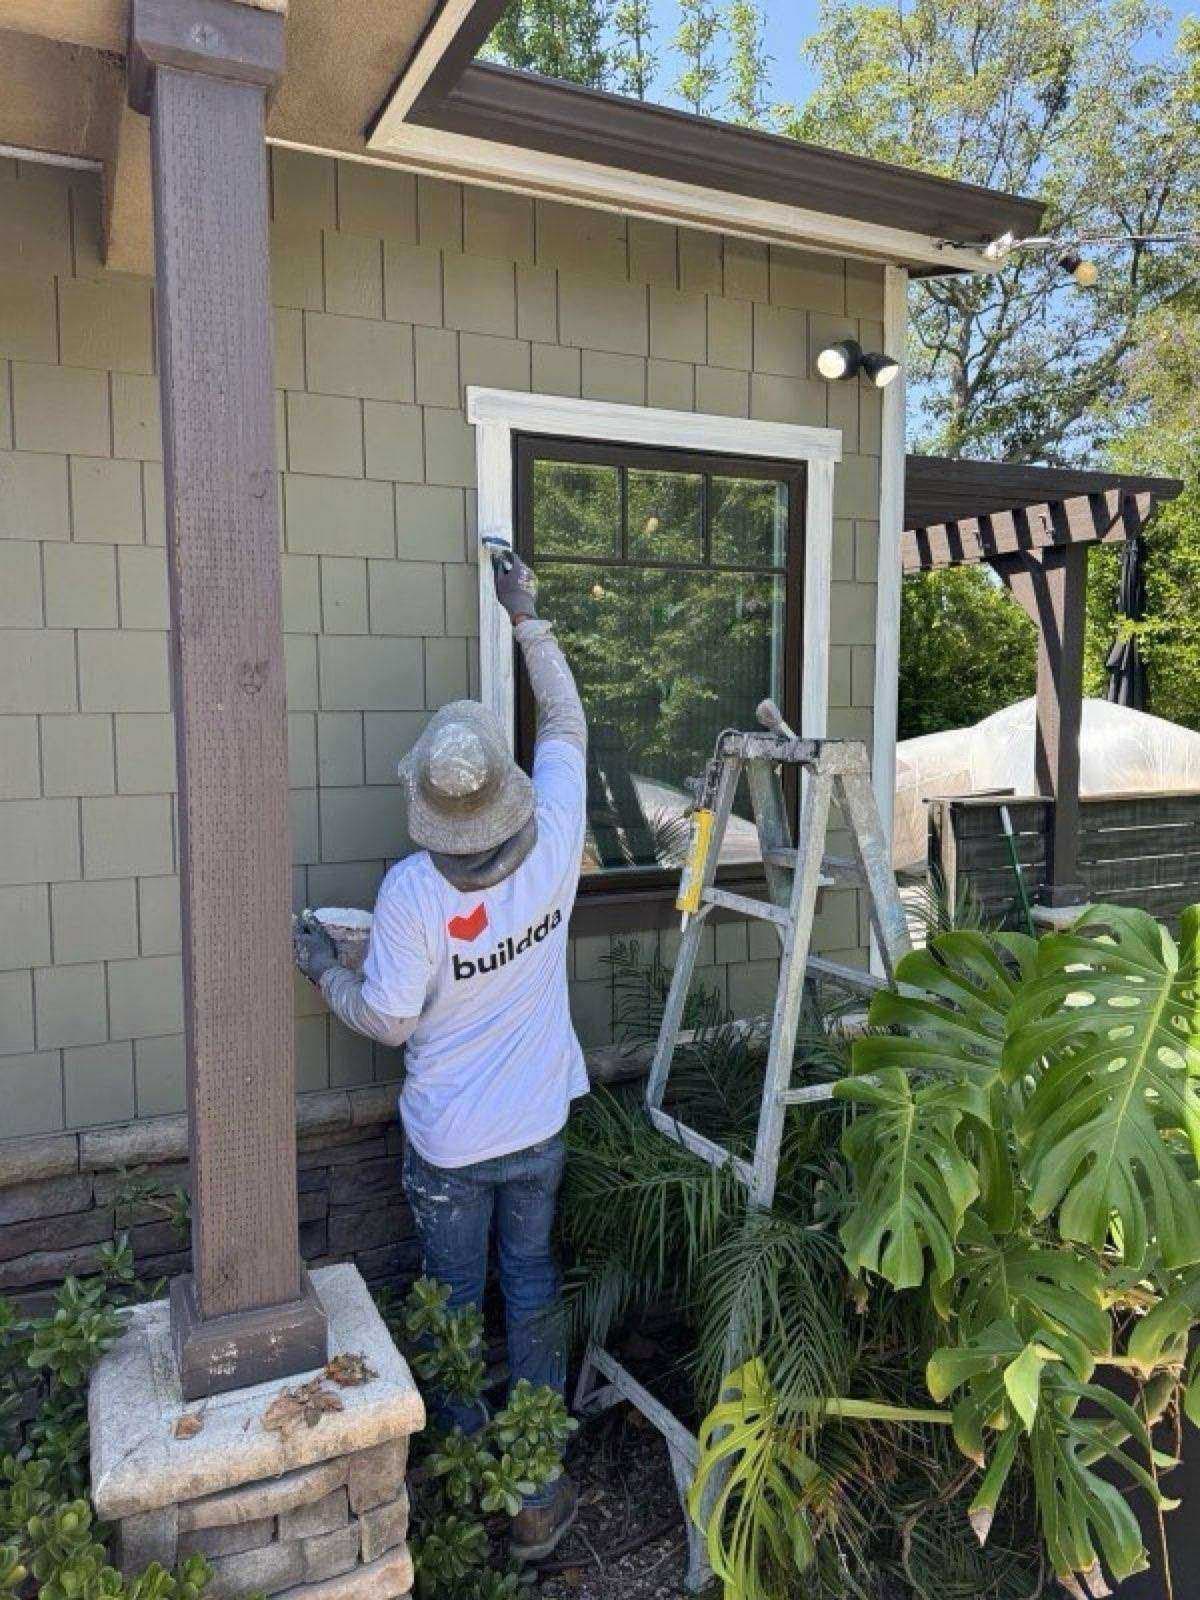
Complete exterior painting guide for Southern California homes. Compare paint types, learn prep requirements, understand costs ($2-6/sqft), and know when to DIY vs hire a pro.
Exterior Makeover: Complete Home Transformation
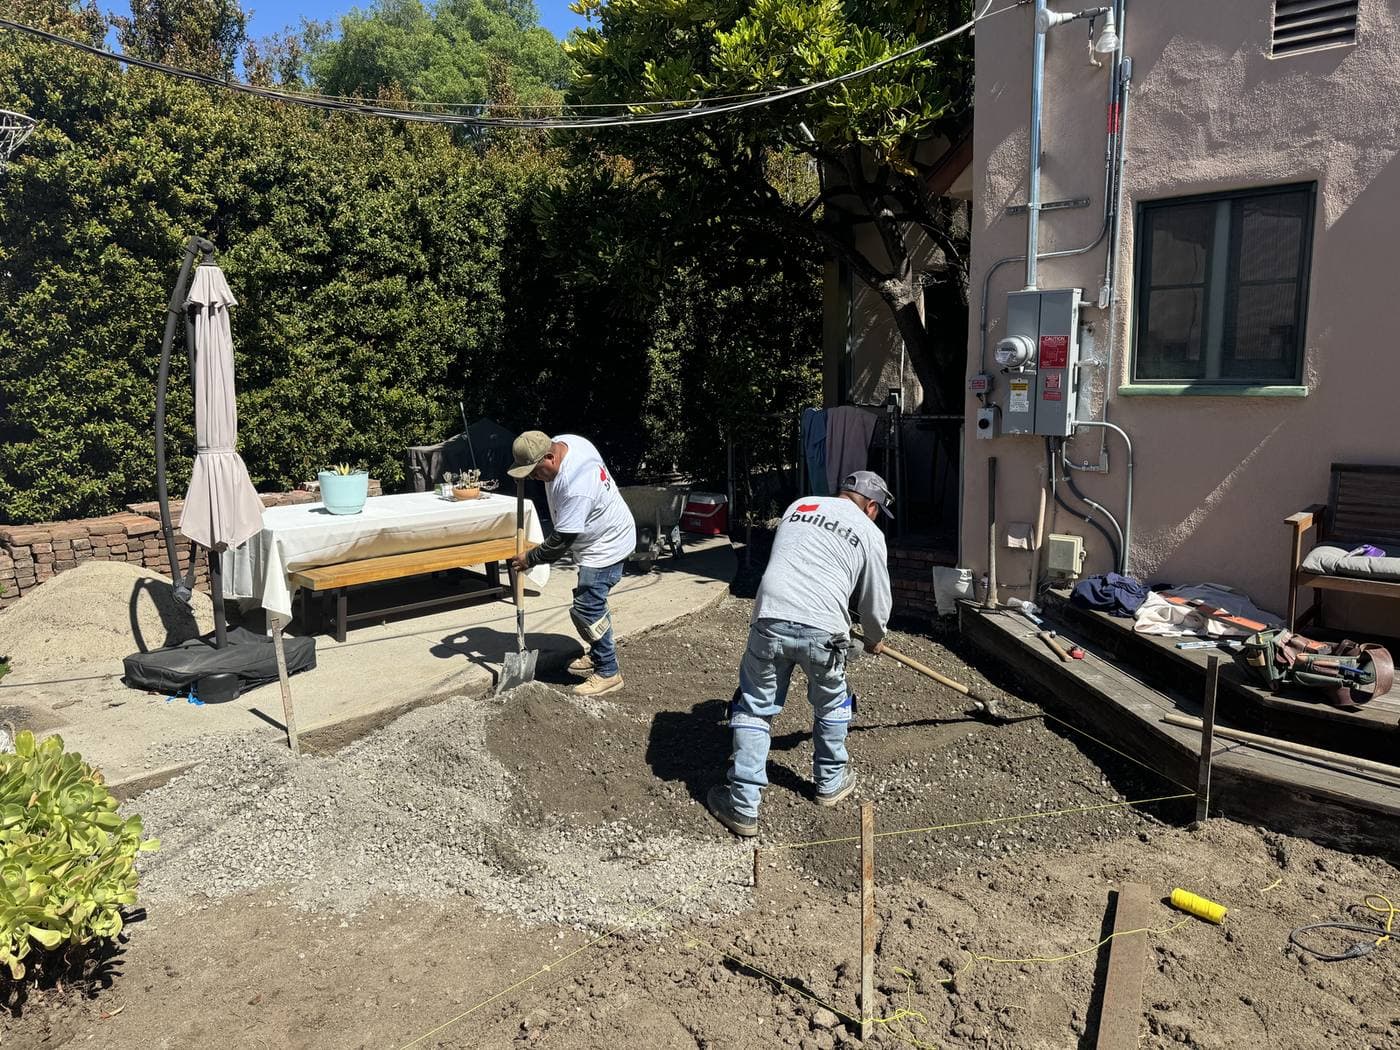
How to coordinate a full exterior makeover - roof, siding, paint, windows, and curb appeal - in the right order for maximum impact.

Curb Appeal: 10 Upgrades + Two Real Project Examples
10 curb appeal upgrades with real costs for Southern California homes plus two Buildda case studies (Sunkist Park trim repaint, Carlson Park brick walkway). $100 quick wins to $15K+ full makeovers. ROI, budget tiers, and permit info.